How to deploy Django on AWS Lambda
How to host a Django 5 project for a few cents per month?
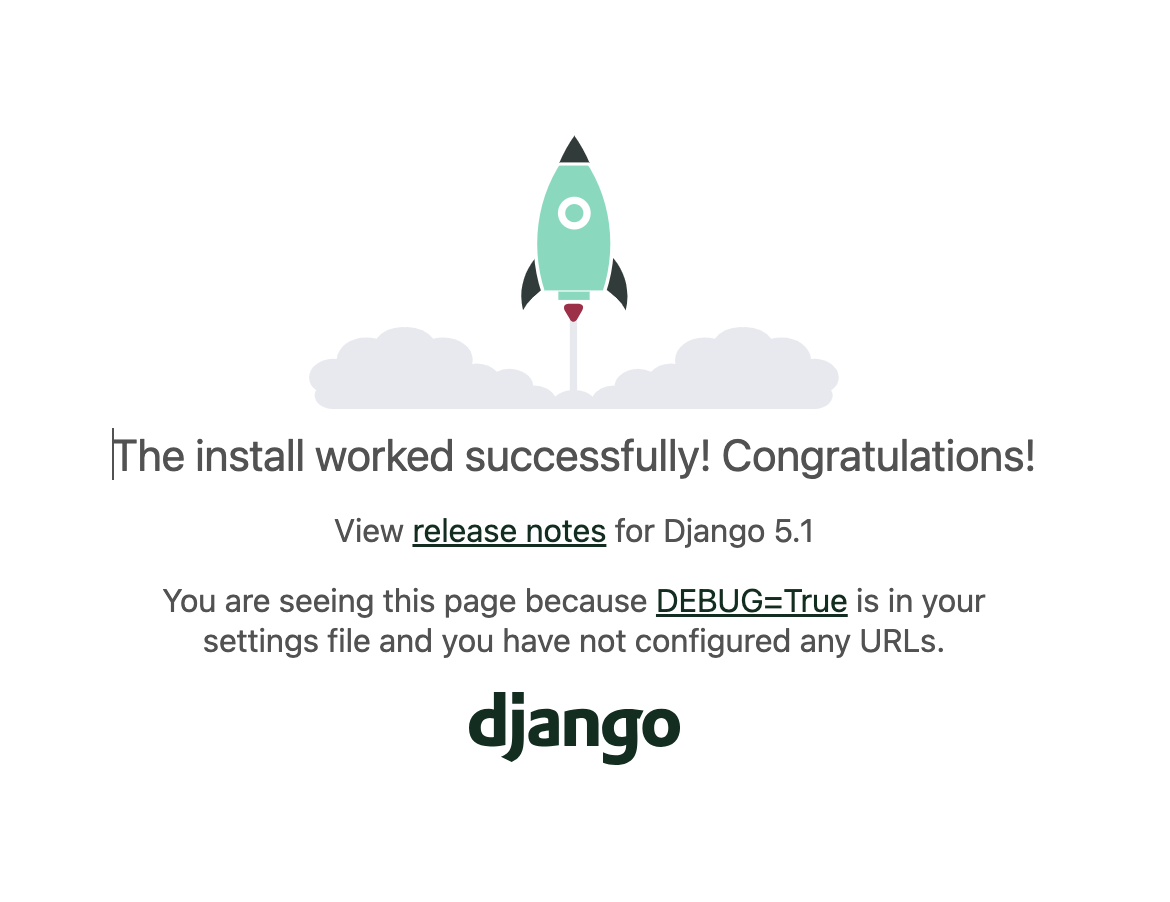
You can use AWS Lambda to host your Django 5+ application and to make your application available worldwide. It is a hosting solution that is simple, cost-effective, and ready for production scale.
As AWS Lambda is a serverless platform, you only pay an amount in direct proportion to the number of visits to your site. For sites that are expected to have low traffic, the bill may add up to less than a dollar per month. This is a boon for solo developers and technical founders.
This guide will show you how to deploy a Django 5 project easily to AWS Lambda using an open-source tool called Zappa.
Prerequisites
- Before proceeding, make sure that you have your AWS account ready. If you do not have an AWS account, now is the perfect time to sign up for a free AWS Account.
- Ensure you have set up AWS CLI and your profile and permissions properly. In this guide, I will use the
devprofile. Change it to the profile that has been set up in your AWS Account.
Step #1: Set up a new virtual environment
We create a clean directory and a new virtual environment where we can generate our new Django 5 project.
mkdir tutorial-django-lambda
cd tutorial-django-lambda
python3 -m venv venv
source venv/bin/activate
Step #2: Install Django
Don't forget to keep requirements.txt up-to-date.
pip install django
pip freeze > requirements.txt
Step #3: Generate a new Django project
django-admin startproject app .
python manage.py runserver
At this point, we can just double-check and see if our fresh project is running as it should. Visit http://127.0.0.1:8000/ on your local machine to check.
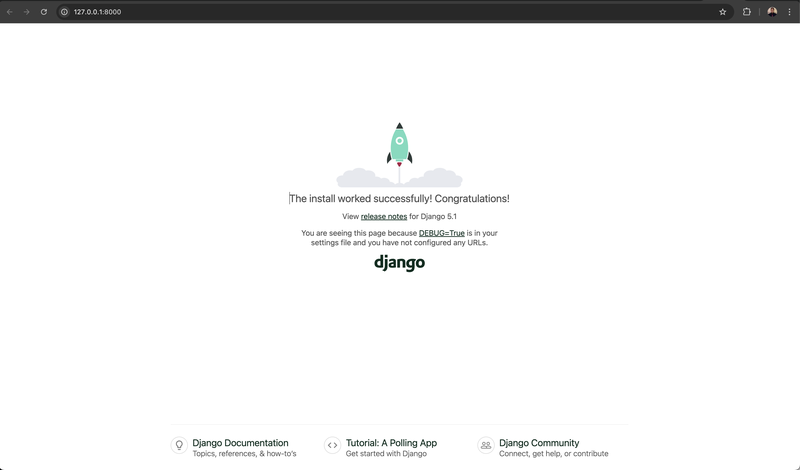
If all is well, you should see the Django splash screen.
Step #4: Install Zappa
We also install setuptools as a dependency of Zappa.
pip install --upgrade setuptools
pip install zappa
pip freeze > requirements.txt
Step #5: Initialize and Configure Zappa
We now initialize Zappa, and we will be prompted with several questions.
zappa init
Let's call the environment dev as well to be in-sync with our AWS profile name that we will use.
Next, you will be asked to select which AWS profile that you want to use for the deployment. You will see all the profiles that you configured and that is available to you. In this guide, I will choose the dev profile (which we should have configured properly as a prerequisite).

Provide a name for the S3 bucket where our project will be stored for AWS Lambda to read. This could be anything, and if you can't decide, Zappa will randomize a name for you. For this guide, I chose tutorial-django-lambda.

Zappa usually correctly detects that our project is indeed in Django and that the settings module path is what is shown. It won't hurt to double-check the correct values.

To make things simple, let's ignore deployment to all available regions for now. Let's just make this work.
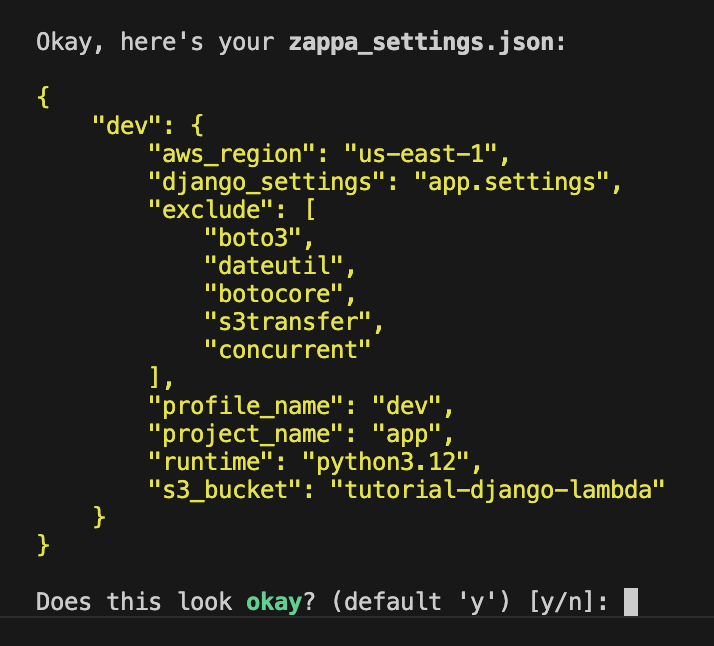
Based on your previous answers, Zappa will generate zappa_settings.json that our project will be using for all of our deployments moving forward.
Step #6: Deployment time!
zappa deploy dev
Once Zappa has been properly initialized and configured, we can do our first deploy. Upon successful deployment, Zappa will give us a URL to visit. This URL points to the Amazon API Gateway associated with our deployment. In our case, it's https://7pnbbzanzb.execute-api.us-east-1.amazonaws.com/dev.
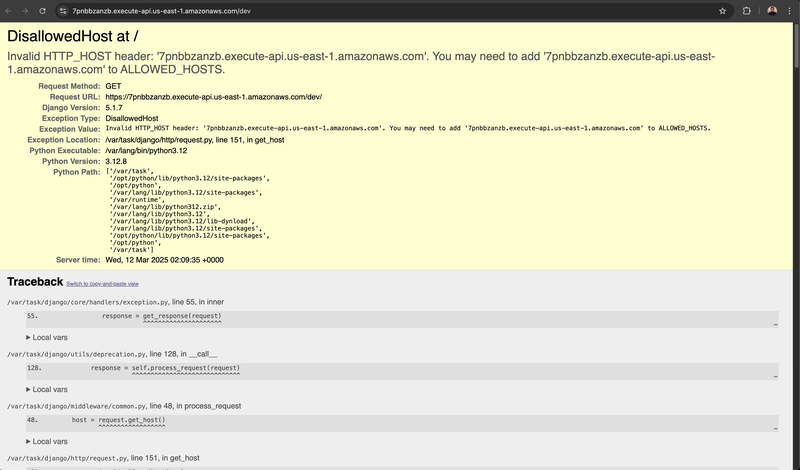
We expect to see an error message (don't be disappointed, it's part of the process). Django keeps a whitelist of allowed hosts (aptly called ALLOWED_HOSTS) that prevents our site from being visible outside this whitelist of hostnames for security reasons.
Step #7: Modify our Django Application
We edit our settings.py in response to our newly obtained URL.
# app/settings.py

ALLOWED_HOSTS = [
  '127.0.0.1',
  '7pnbbzanzb.execute-api.us-east-1.amazonaws.com' #<--
]
Remember to remove the "https" and the "/dev" part.
Let's take this opportunity to do all our code modifications before we deploy again.
# app/settings.py

INSTALLED_APPS = [
    'django.contrib.admin',
    'django.contrib.auth',
    'django.contrib.contenttypes',
    'django.contrib.sessions',
    'django.contrib.messages',
    'django.contrib.staticfiles',
    'app' #<--
]
In preparation for all the other code additions and modifications in our "app" application, we add "app" to our INSTALLED_APPS list.
# app/views.py

from django.http import HttpResponse
from django.shortcuts import render

def home(request):
     return render(request, 'app/index.html')
Let's create a Django view that simply displays a good old static HTML - nothing too fancy.
# app/urls.py

"""
URL configuration for app project.

The `urlpatterns` list routes URLs to views. For more information please see:
    https://docs.djangoproject.com/en/5.1/topics/http/urls/
Examples:
Function views
    1. Add an import:  from my_app import views
    2. Add a URL to urlpatterns:  path('', views.home, name='home')
Class-based views
    1. Add an import:  from other_app.views import Home
    2. Add a URL to urlpatterns:  path('', Home.as_view(), name='home')
Including another URLconf
    1. Import the include() function: from django.urls import include, path
    2. Add a URL to urlpatterns:  path('blog/', include('blog.urls'))
"""
from django.contrib import admin
from django.urls import path, include
from .views import home

urlpatterns = [
    path('admin/', admin.site.urls),
    path('', home),  #<--
]
Let's direct all traffic to "/" to be handled by our newly created view.
<!doctype html>

<!-- app/templates/app/index.html -->

<html lang="en-us" dir="ltr">
  <head>
    <meta charset="utf-8">
    <title>The install worked successfully! Congratulations!</title>
    <meta name="viewport" content="width=device-width, initial-scale=1">
<!-- Code too long to insert fully.
Unabridged code at https://github.com/ardeearam/tutorials-django-lambda/blob/main/app/app/templates/app/index.html -->
Finally, let's add our static HTML to app/templates/app/index.html.
The code is too long to insert inline, but you can click this link to view the full version.
We do this to come to a site we look forward to seeing, not to see some dry text on a plain white background.
Step #8: Redeploy
zappa update devNote that we use "update" instead of "deploy". We use update for all our redeployments moving forward.

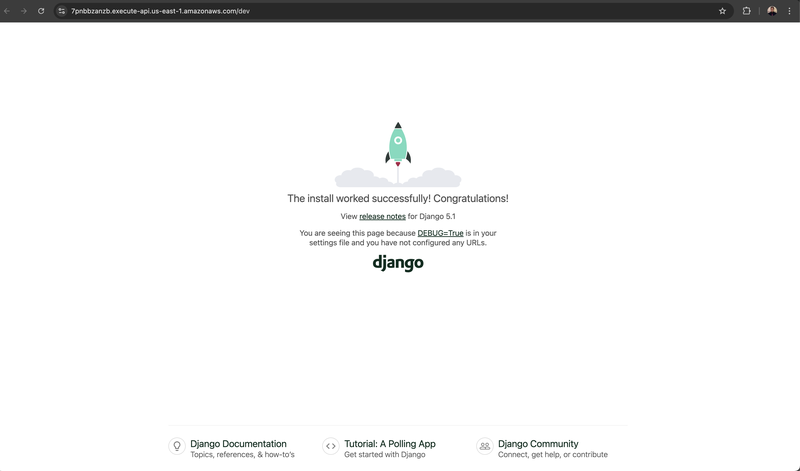
This time, it should work. 🎉
You can check the working site at https://7pnbbzanzb.execute-api.us-east-1.amazonaws.com/dev.
(Optional) Step #9: Custom Domain Name
So yay, we got our Django application deployed on AWS Lambda just as promised. But let's be honest - the auto-generated URL is tremendously ugly and almost unusable for most use cases. Fortunately, we can use a custom domain name for our application.
Prerequisites
- You must have purchased and obtained full access to a custom domain name. If you haven't done so, head to Namecheap (not a sponsored link) to get yours.
- You must have configured your custom domain name with Amazon Route 53. This is out of the scope of this guide, but you may refer to this guide from AWS.
- You must have generated an SSL/TLS certificate for your domain name via AWS Certificate Manager. Again, this is not covered by this guide, but you may refer to Sunday Nyowe's guide to creating SSL/TLS certificates in ACM.
With these out of the way, let's proceed.
Update ALLOWED_HOSTS with our custom domain
# app/settings.py

ALLOWED_HOSTS = [
  '127.0.0.1',
  'tutorial-django-lambda.stg.klaudsol.com', # <--
  '7pnbbzanzb.execute-api.us-east-1.amazonaws.com'
]
I'll be using the domain tutorial-django-lambda.stg.klaudsol.com for this guide.
Get Certificate ARN from AWS Certificate Manager
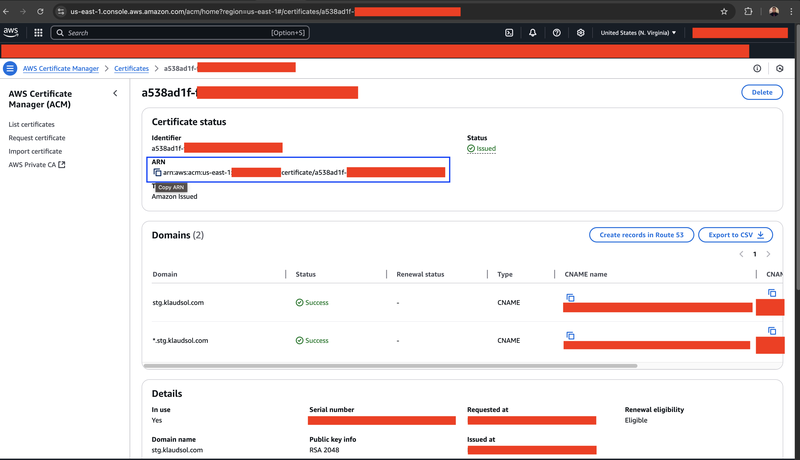
The ARN should have a format of arn:aws:acm:xx-xxxx-x:xxxxxxxxxxxx:certificate/xxxxxxxx-xxxx-xxxx-xxxx-xxxxxxxxxxxx.
Add domain and certificate_arn to zappa_settings.json
{
  "dev": {
      "aws_region": "us-east-1",
      "django_settings": "app.settings",
      "exclude": [
          "boto3",
          "dateutil",
          "botocore",
          "s3transfer",
          "concurrent"
      ],
      "profile_name": "dev",
      "project_name": "app",
      "runtime": "python3.12",
      "s3_bucket": "tutorial-django-lambda",
      "domain": "tutorial-django-lambda.stg.klaudsol.com",
      "certificate_arn": "arn:aws:acm:xx-xxxx-x:xxxxxxxxxxxx:certificate/xxxxxxxx-xxxx-xxxx-xxxx-xxxxxxxxxxxx"
  }
}
Push domain and certificate changes
zappa certify dev
zappa update dev

Notice that Zappa now uses our custom domain.
For the grand finale, let's visit our custom domain to check if it works properly.
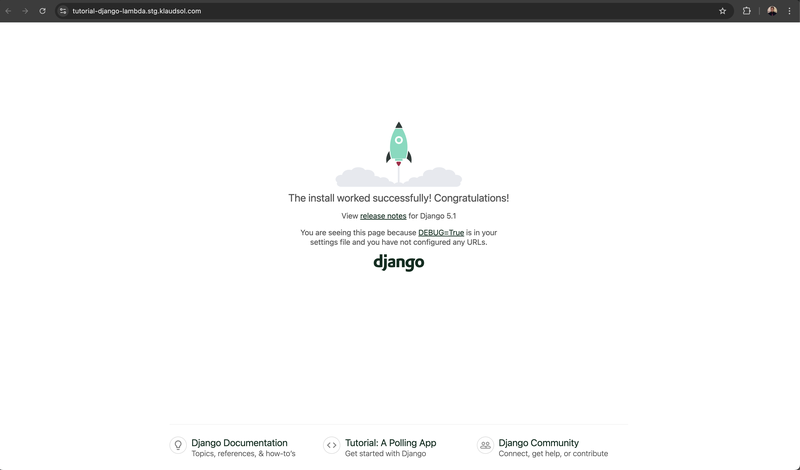
The site is visible at https://tutorial-django-lambda.stg.klaudsol.com. 😀
Source Code
The reference code is open-source and is viewable here: https://github.com/ardeearam/tutorials-django-lambda
Happy coding!
